Arch Linux Installation on Legacy Hardware: Complete Setup Guide for ThinkPad X230
The ThinkPad X230 has stood the test of time. Released in 2012, it remains one of the most beloved machines in the Linux community because of its durability, repairability, and compatibility with open-source software. Pairing this laptop with Arch Linux breathes new life into it, giving you a lightweight, cutting-edge, and fully customizable environment. For IT professionals, security practitioners, and hobbyists, this setup is the perfect blend of control and efficiency.
Why Arch Linux on the X230? Arch is minimalist at its core; you only install what you need. This makes it ideal for older hardware where every bit of efficiency counts. You also get rolling updates, the Arch Wiki (an unparalleled documentation resource), and the freedom to tailor the system to your exact workflow. On the X230, that translates into a responsive daily driver that doesn’t feel like it’s over a decade old.
Step-by-Step Installation Process
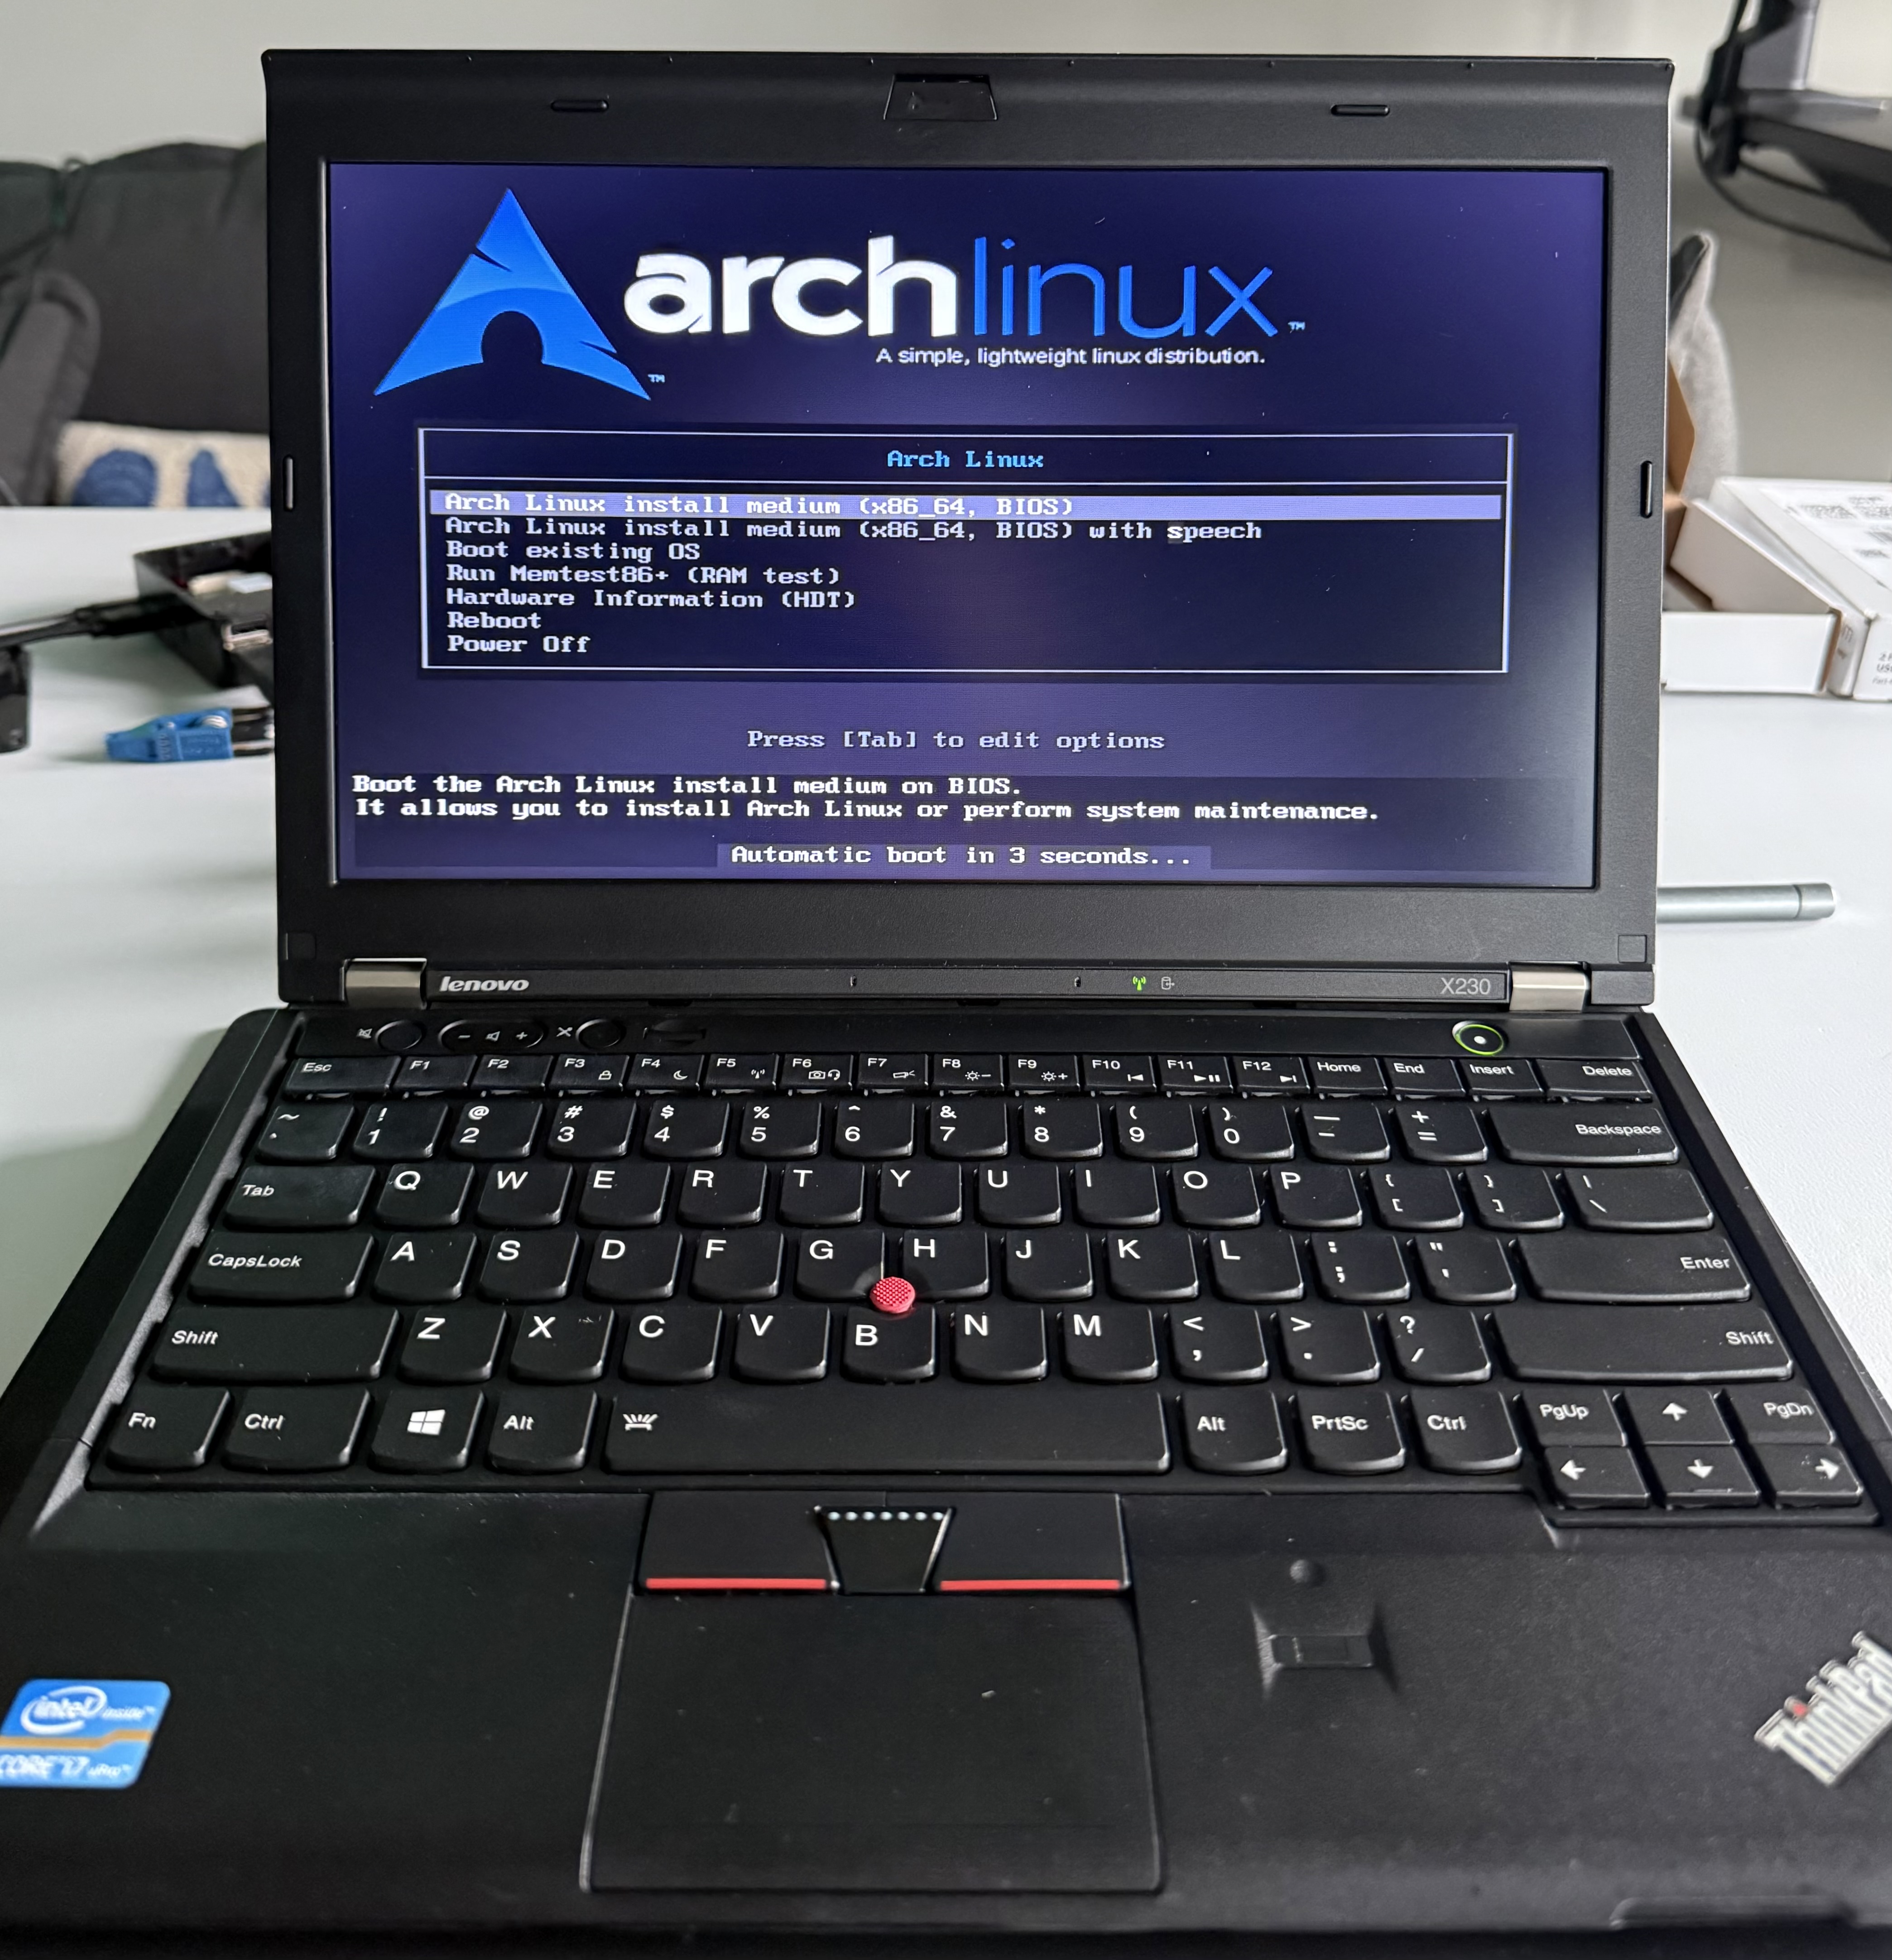
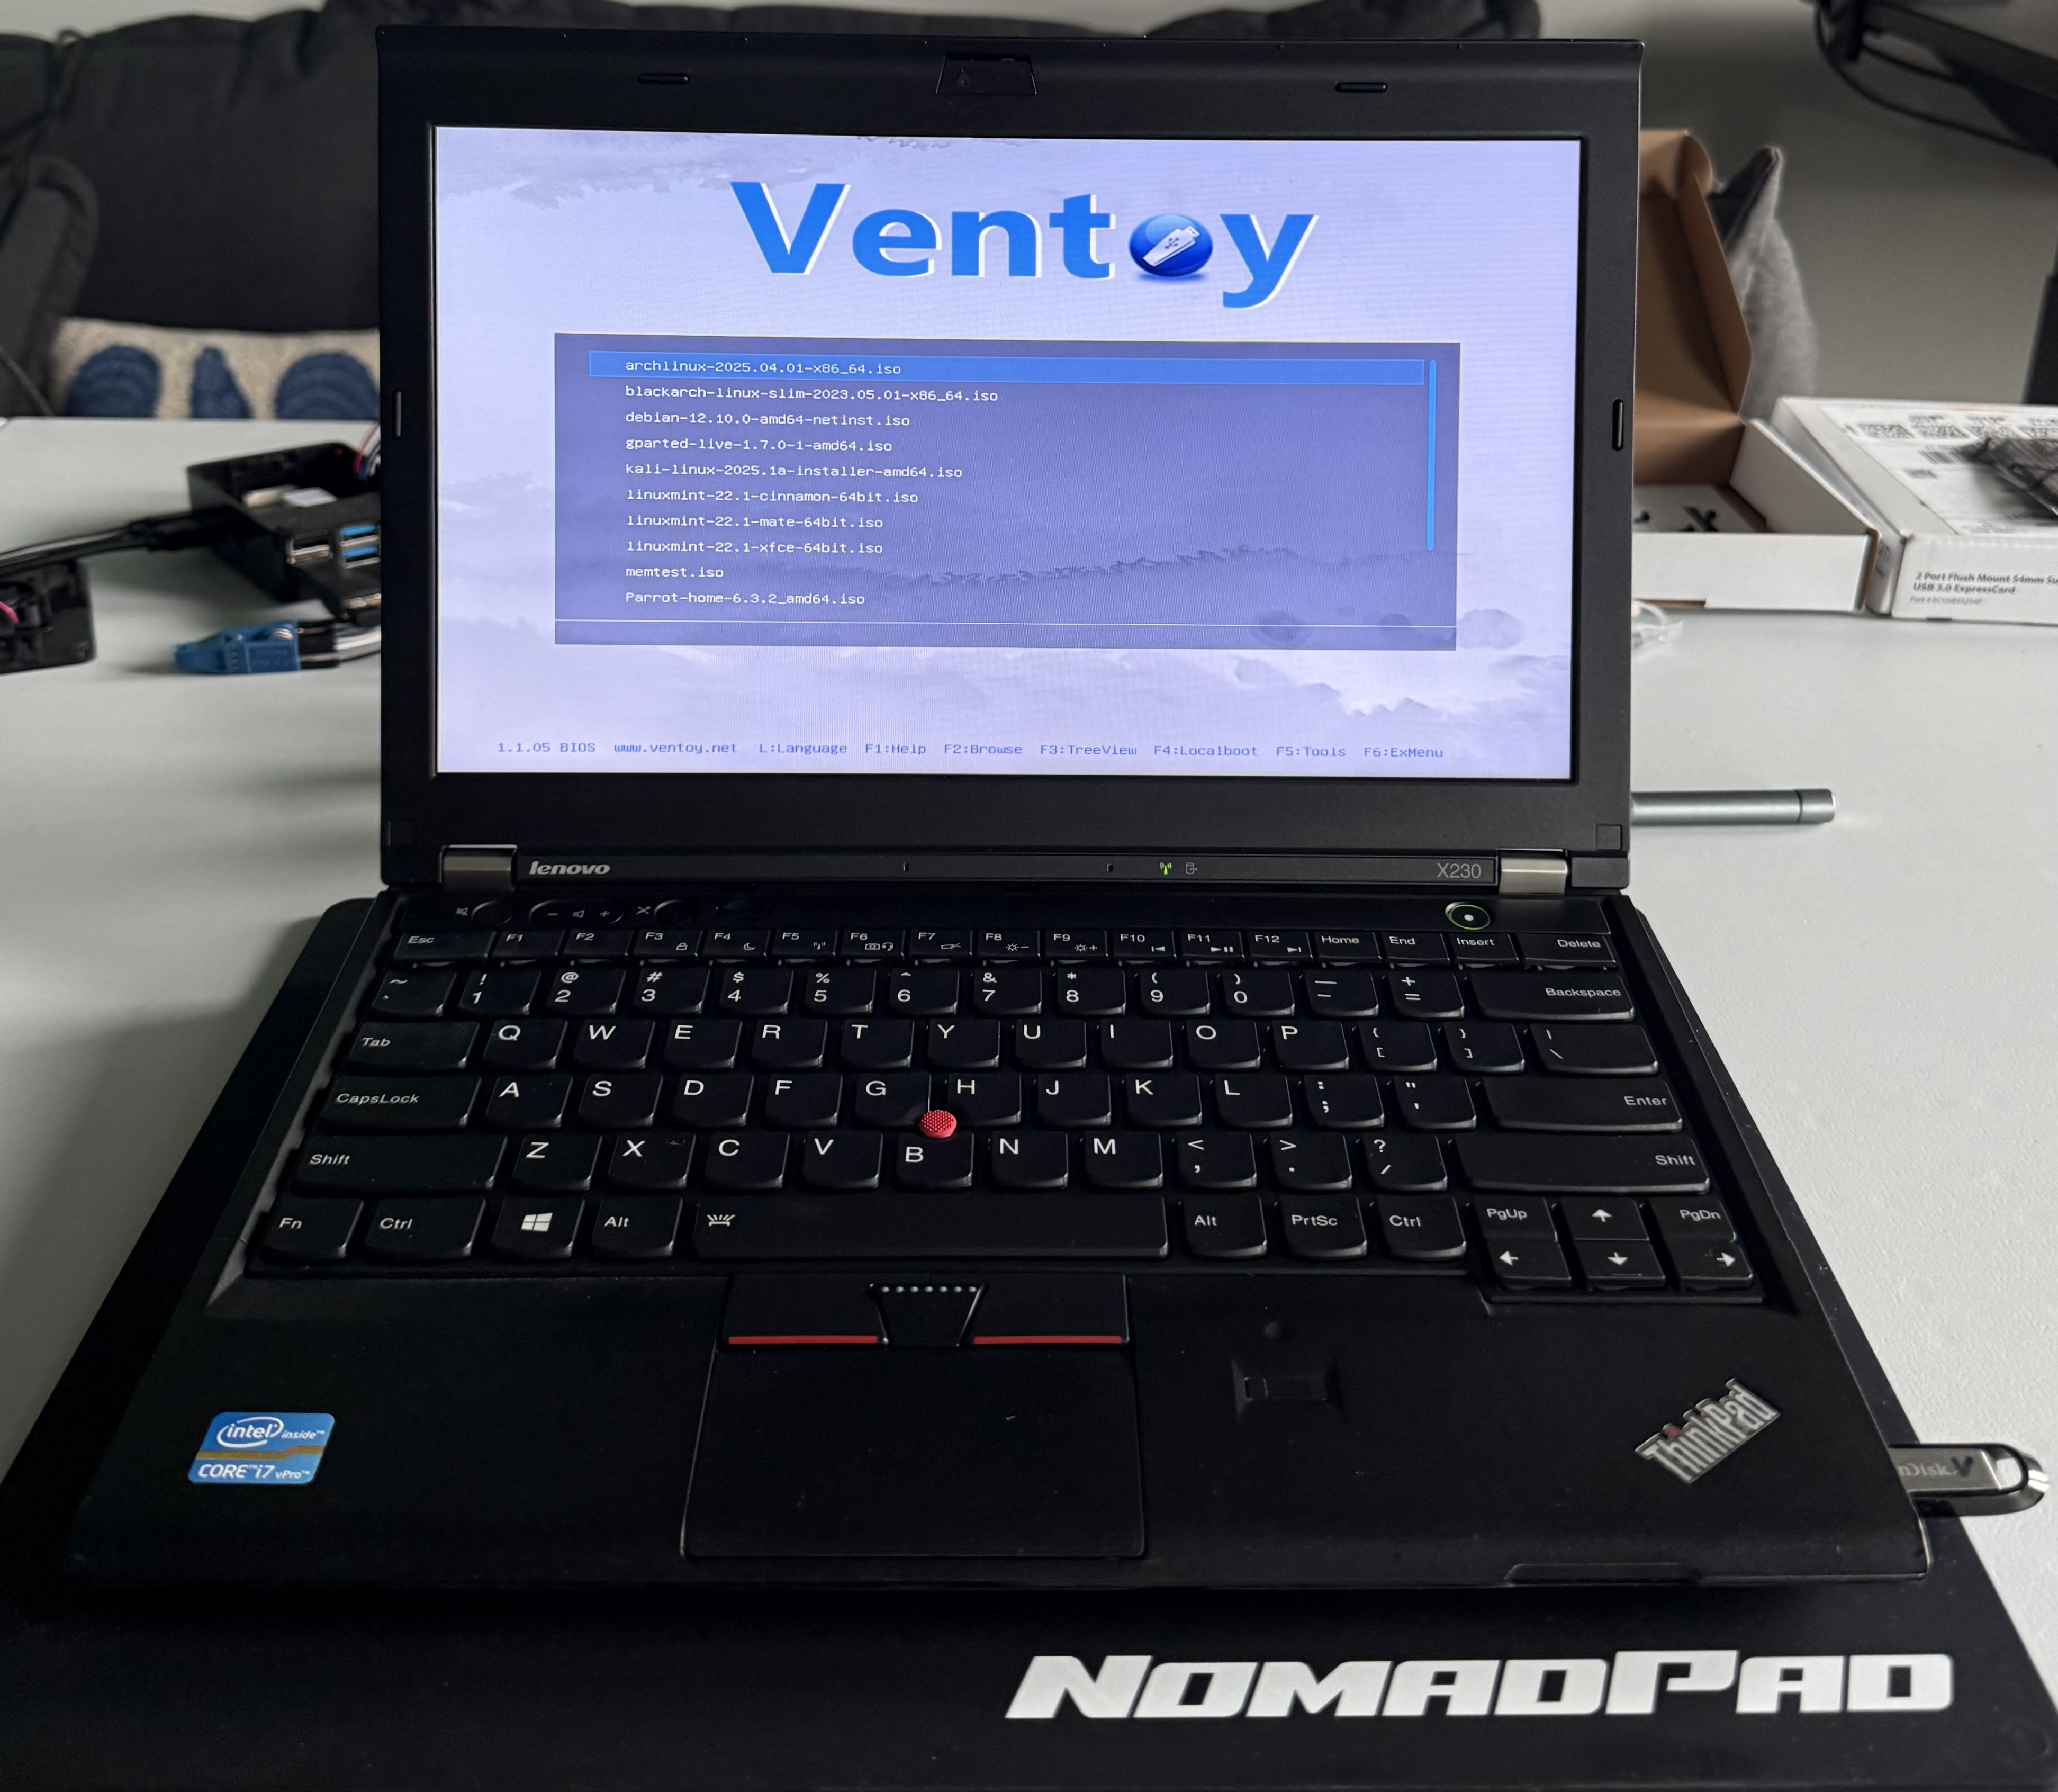
1. Booting into the Arch ISO
First, download the latest Arch Linux ISO and write it to a USB drive. I used Ventoy so I can reuse the same USB for multiple ISOs. Insert the USB into the X230, power it on, and select the Ventoy stick from the boot menu. Choose the Arch ISO in the Ventoy interface and boot into normal mode.
2. Connect to the Internet
If you’re on Wi-Fi:
device list
station wlan0 scan
station wlan0 get-networks
station wlan0 connect <SSID>
exit
Verify connectivity with:
3. Enable NTP
Sync the system clock:
4. Partition the Disk
We’ll use GPT with a BIOS boot partition:
parted /dev/sda -- mkpart primary 1MiB 3MiB
parted /dev/sda -- set 1 bios_grub on
parted /dev/sda -- mkpart primary 3MiB 100%
5. Format and Mount
mount /dev/sda2 /mnt
6. Install the Base System
7. Generate fstab
8. Chroot into the System
9. Configure Timezone and Locale
hwclock --systohc
sed -i 's/^#en_US.UTF-8/en_US.UTF-8/' /etc/locale.gen && locale-gen
echo 'LANG=en_US.UTF-8' > /etc/locale.conf
10. Hostname and Hosts File
echo -e "127.0.0.1\tlocalhost\n::1\tlocalhost\n127.0.1.1\tx230.localdomain x230" >> /etc/hosts
11. Set Root Password
12. Enable Networking
13. Install and Configure GRUB
grub-mkconfig -o /boot/grub/grub.cfg
14. Exit and Reboot
umount -R /mnt
reboot
Post-Installation Setup
Once rebooted, log in as root and create your personal user:
passwd <username>
pacman -S sudo
EDITOR=nano visudo # Uncomment: %wheel ALL=(ALL:ALL) ALL

Results
The X230 runs Arch Linux smoothly, with fast boot times and a lean system tailored exactly to my needs. By starting from the ground up, I’ve built an OS environment that avoids bloat and remains under my full control. For legacy hardware, this is a way to extend its usable life for years while also giving me a playground to learn Linux in depth.
This process requires patience, but the payoff is a rock-solid, lightweight system that rivals modern machines.
More Posts
- Why I built PDF Library - A Private, Distraction-Free Way to Read and Organize PDFs
- Customizing Arch Linux on a ThinkPad - A minimal i3 setup from scratch
- Flashing Coreboot on ThinkPad X230 - Disabling Intel Management Engine with Skulls firmware for enhanced security
- ThinkPad Classic Keyboard Retrofit - Replacing chiclet keyboard with 7-row classic layout
- Building a Secure Home Lab - Network design for remote access, media storage, and VPN infrastructure
- Building CalcPlus, PDFDarkMode, and MemoryPush - Why and how I built these mobile apps